Power Automate flows in custom list templates – a winning combination!

Power Automate flows in custom list templates – a winning combination!

Microsoft has recently announced the availability of a new feature for SharePoint Online and Microsoft Lists – the ability to save Power Automate flows in custom list templates.

This new capability is the first decent update we have seen from Microsoft for SharePoint Online in a while and has the potential to bring non-trivial automation of list-based tasks to the normal user.

Makes a nice change to have some real new features in Microsoft 365 instead of just rebranding madness from their marketing department. Seriously, Yammer is now ‘Viva Engage’ and Azure AD is to be called ‘Microsoft Entra Id’. Maybe Microsoft should have made more cut-backs in Marketing instead of product development!

When, Where, HOW?!!

The ‘when’ is any day now, with an expected roll-out completion date of mid-July 2023 if you’re on targeted release.

If you are on the Standard ‘it’ll never work first time, let’s wait a while until they get the bugs fixed’ release you won’t have to wait long either with roll-out starting mid-July 23 expected to finish by the end of the month.

Where will these great new templates exist? Alongside the other custom list templates you have published in your tenant. A normal user with ‘create list’ permissions will be able to find any published list templates with their Power Automate flows in the ‘From your organization’ tab in the dialog that appears in the modern experience when you select New – List

Create a list from a template

When a template with Power Automate flows included is selected, after the list has been created, the user will be shown a modal dialog prompting them to install the flows. Sounds easy – I hope it’s as good as promised!

So, how do you make a custom list template with attached Power Automate flows? Alas, the days of going to the list configuration settings page and clicking on ‘Save list as template’ are becoming a thing of the past. I miss that elegant simplicity ๐Ÿ˜•

Instructions from Microsoft on how to publish a custom list template with Power Automate flows can be found here.

Some important points to note:

  • You have to be a Global or SharePoint administrator to be able to publish custom list templates.
  • Normal flows created in Power Automate won’t work in custom list templates – you have to use a cloud flow created in a Dataverse solution, so if you already have flows created normally against the list you want to make into a template, you’re going to have to remake them.
  • There is a list of ‘known limitations’ to Dataverse solutions – check them out here.

Now, Microsoft’s instructions aren’t exactly the easiest to follow, they lack some detail and could have had some better illustrations to help along the way – I mean does anyone NOT know how to make a zip file in explorer! So to fill in the gaps and remind myself of how it’s done, here’s a step-by-step guide to publishing a custom list template with Power Automate flows included.

How to publish a custom list template with Power Automate flows

Create a new Dataverse solution in Power Automate

First stop is Power Automate. Go to ‘Solutions’ on the main menu, then click ‘New Solution’. The panel in the image will appear.

Fill in a display name and the Name field will be automatically populated.

Then choose a publisher. To avoid confusion, it’s recommendable creating your own publisher registry, which you can do by clicking the ‘New publisher’ button.

The panel will be replaced by the form to register a new publisher. It has two tabs: Properties and Contact.

In the properties tab, chose a Display name and then a Name (this can’t have spaces, but can have ‘_’). The description is optional, then provide a prefix text. The ‘Choice value prefix’ field will update automatically as you type in the prefix.

The Contact tab is self-explanatory. Once saved, you will go back to the ‘new solution’ panel. The version number can be changed if required and click ‘Create’ to finish… step 1.

Create a new solution in Power Automate

Open the solution and create a new cloud flow

Empty solution in Power Automate

The new solution will appear in the Solutions tab, which you can then click to open.

Initially it will be empty, and we can now add a Power Automate flow by going to the new menu and navigating to the required cloud flow type.

It is also possible to add an existing cloud flow to the solution, but flows created outside the dataverse may require modification to manually create connection references (more about them later) and some flow types are currently not available to import.

Also note instant flows (manually triggered) cannot be imported and have to be created inside the solution.

Add a new cloud flow to a solution

Create your flow and check the connection references have been created in the solution

Cloud flow and connection references in dataverse solution
Cloud flow and connection references in Dataverse solution

The flow creation process is the same as for a standard flow in Power Automate: you choose a name for your flow and the trigger, then you configure the trigger if necessary and add the actions to complete your flow.

For this test, I made a simple flow which emails me the link to a new item when it is created in the list.

Once saved, you can go back to the solution and you should now see the cloud flow and any connection references that have been created automatically when you saved the flow inside the Dataverse solution. This is also a good opportunity to test the flow and do any debugging until you are sure the flow works correctly.

What are connection references?

Triggers and actions that connect to any other system do so through API’s which almost always require an authenticated user to execute. In normal flows, the connections are ‘hard-coded’ into the flow itself. Flows in Dataverse solutions are made to be distributed and used to others, so these connections to SharePoint, Outlook, etc… need to be set each time it is implemented and connection references are the way the Dataverse solution knows what connections require setting when it sets up.

Export the Dataverse solution

Publish changes before exporting
Changes published
Changes published
Set version number and export as managed solution

The next step is exporting the Dataverse solution. Going one level back up to ‘Solutions’ we can select our solution and click on the ‘Export solution’ menu button.

The panel that opens will first prompt you to publish the changes to your solution – required so that it can be exported.

This doesn’t take very long and once published you can click next to go to the final export panel where the version number will be automatically set which you can change, then you hit Export to start the export process.

There are two options for export: managed and unmanaged… and this is where I made a mistake. The first time around, I left it set to ‘managed’ and continued on my merry way, as this is the recommended setting. Later on, you’ll see why this was wrong.

Exporting
Exporting

While everything up until now had been relatively quick to do, the actual export of the Dataverse solution does take a while to finish, even for this simple one trigger one action flow.

Eventually it will finish, and a banner appears with a button to download the zip file.

Exported
Exported

Manually modify the workflow JSON file

Remember I said this wasn’t as easy as clicking on a ‘Save list as template’ link? Well, this is where things begin to get very manual and definitely out of the scope of a normal or even advanced SharePoint user.

Unzip the downloaded file and inside the ‘Workflows’ folder you will find a JSON file for each flow in your solution.

Open the JSON files with your favorite code editor (I’m using VSCode) and look for any instances of your SharePoint URL. In this example, I’ve got one in the trigger action as it connects to the SharePoint list.

Replace the SharePoint URL with

{ContextSharePointSiteUrl}

and the ‘table’ value is actually the list GUID, and it gets replaced by

{ContextSharePointListId}

Save the modified JSON files and recreate the zip file including all the other files and folders from the original.

Manually change SharePoint references
SharePoint references changed

Get the Site Script manifest.json file for the list

Think the admin/developer stuff is finished yet? No chance! It wouldn’t be a modern Microsoft 365 procedure if we didn’t have to crack open PowerShell.

Make sure you have an updated version of the Microsoft Online Management Shell installed. If you don’t have it already, you can download it here.

Open PowerShell and connect to your SharePoint admin site and export the site script from the list, and leave it open, we’ll be needing it again later.

				
					Connect-SPOService -Url https://your_tenant-admin.sharepoint.com -credential your_login
Get-SPOSiteScriptFromList -ListUrl https://your_tenant.sharepoint.com/.../_listname_ | Out-File manifest.json


Manually modify the manifest.json file and make the final zip file

I hope you have that code editor handy, because we’re off again!

Open the manifest.json file you just create from PowerShell and find the point just after the action ‘createSPList’.

In my example, that’s line 49.

Now add the following:

				
					{
    "verb": "importBusinessApps",
    "listName": "--list name from above--",
    "solutionFileRelativePath": "--filename--.zip"
}


Be careful with the text – the properties are case-sensitive and if you don’t get them perfect, you’ll get an error when you try to add the list design, like I did.

Replace the value of listName with the exact same value in the property listName of the ‘createSPList’ action above it.

Finally, replace the value of solutionFileRelativePath with the name of the zip file you created earlier with the modified workflow JSON files.

Save the manifest.json file and put the zip file you made earlier in the same folder, and zip the two files together.

We now, finally, have the zip file we can upload to SharePoint to publish our custom list template with Power Automate flows included.

manifest.json before manual edit
manifest.json after manual edit

Publish the template as a list design

We’re almost there – stick with it!

Back to PowerShell we go:

				
					$pkg = Add-SPOSiteScriptPackage -Title "site script title" -Description "description" -ContentPath .\TestListWithFlow.zip
Add-SPOListDesign -Title "Test list with Flow" -Description "testing new functionality" -SiteScripts $pkg.Id 


If you’ve done everything right, you should get something like this:

Output from adding list design

If there’s a problem with the section you added to manifest.json, you’ll get an error message here and you can go back and fix it.

Test your new template

Assuming you have no error messages, you can now test your new list template.

In the ‘Create a list’ dialog, your new list template should now appear. This looks a bit dull without a thumbnail image.

We can fix this if we add the Thumbnail parameter when we add the list design with PowerShell. We can also chose a color and icon for the list template:

				
					Add-SPOListDesign 
  -Title "Test list with Flow" 
  -Description "testing new functionality" 
  -SiteScripts $pkg.Id 
  -ListColor Orange 
  -ListIcon BullseyeTarget 
  -Thumbnail "https://your_tenant.sharepoint.com/SiteAssets/thumbnail.png"


When we click on the list template we see a preview of the list, and we can then click on ‘Use template’ to create our list.

Give your new list a name and description as normal and click ‘Create’.

Shortly, the new list will appear and in the same way as other Microsoft created list templates with flows such as the work progress tracker template, a dialog will appear prompting you to install the flow.

New list template available
Choose new list template
dialog to add flow
Dialog to add flow
Checking connections

Clicking next takes you to the ‘Checking connections’ dialog where, if you don’t already have the appropriate connections created in Power Automate, you can add them here – this is where the connection references are doing their bit.

As this process can take a while, you get a final dialog which you can then close.

Setting up features
Setting up features
Adding the flow to the list

Which didn’t work….

Failed
Failed

Great!! You even get a nice email to tell you it failed, but no more clues as to why.

Fortunately for us, the developers behind Dataverse solutions are doing a much better job than the Microsoft marketing department, and we can find out why our solution deployment didn’t work.

Error message location

Heading back to the Solutions section of Power Automate, there is a ‘History’ tab which shows the results of Dataverse solution operations and hey-presto there is my error.

Clicking on it gives us the details and, for once, in simple language we can see the problem: the solution must be unmanaged!!

Who would have thunk it!

Going back and exporting the Dataverse solution, but this time selecting ‘Export as unmanaged’ and following the rest of the steps again, got me a solution that installed and worked properly.

To upload the new site script package, I first removed the previous version by getting the list of List designs and removing the previous list design and associated site script.

				
					Get-SPOListDesign
Remove-SPOListDesign --List design ID--
Remove-SPOSiteScript --Site script ID--
				
			
Error message
Error message

And finally,...

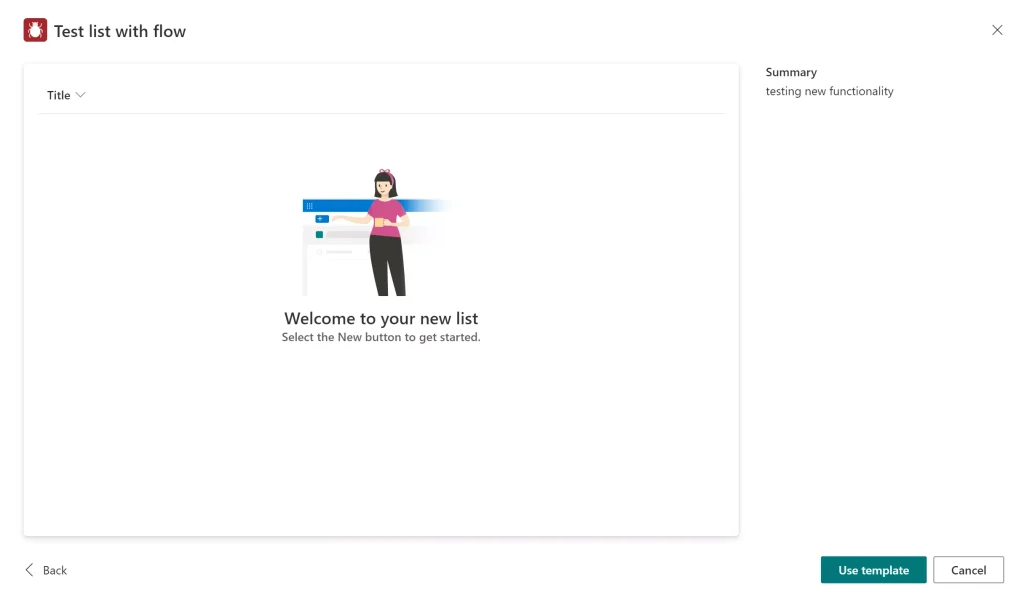
The good news doesn’t stop here. Also hidden in this week’s updates is news that lists have got more love from the dev team at Microsoft with improved performance, the ability to add ratings to any list, drag-n-drop or paste images directly to an image column, see in real-time who else is working on the same list and switching between views using tabs.

You can check out the details of these improvements in this blog post from Microsoft.

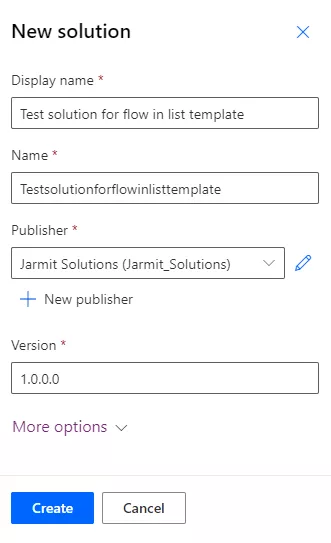
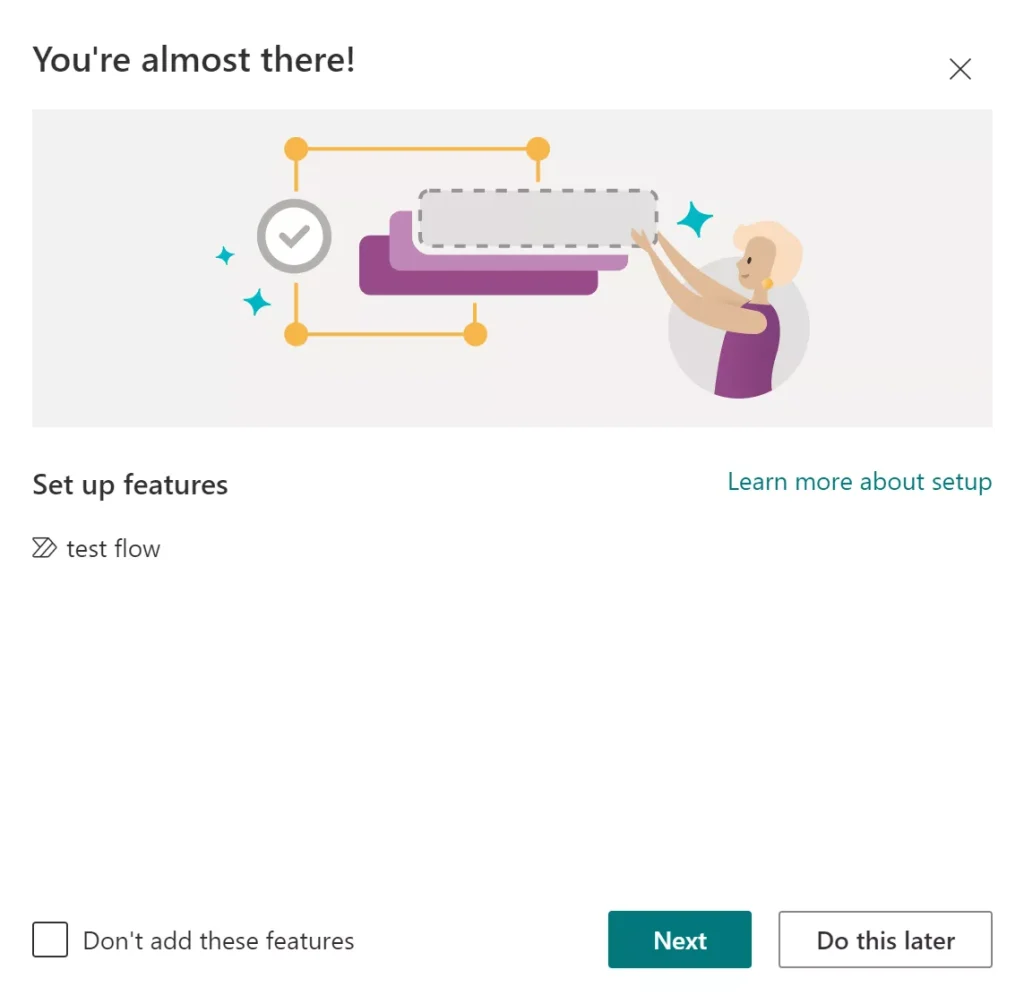
While these improvements are great in my opinion, and the blog post even promises we’ll see Power Automate flows in templates for document libraries in the near future, there are a couple of changes which I’m not such a big fan of.

The first one is the new default of opening lists in the list app instead of SharePoint. Losing global navigation in SharePoint because you have accessed a list will cause problems for users.

There is an ‘Open in Site’ button, but users won’t be aware of it in the beginning and it is just another click and page load away from where the user expected to be.

There’s also a PowerShell hack to force the SharePoint header and navigation to be shown, but it only works at the site collection level and with the new ‘modern architecture’ leading us away from subsites and making every site a site collection, that’s just too many site collections to update to be of use.

Then there is the new treatment for dates. They are supposed to be shown now in your preferred date setting and time zone, which sounds ok,… until I tried it.

I live in Spain but prefer to navigate in English and when I went to update a list on my mobile it opens in the List app now and when I went to select a date for a date column, instead of the current day being set as the 12th of July, I was shown this year’s calendar with the 7th of December selected!

Wrong! And it is easy to see what has happened – the date and month had been swapped. No problem though. I go to July and select today’s date, but what was saved was 7/12/2023!!!

Opening the list in the SharePoint app proved to be impossible, and in my mobile browser it took several attempts to open the list in SharePoint to be able to set the correct date. Not ideal.

Every programmer has fought with dates. They are difficult things to get right, and the boys and girls at Microsoft are going to have to look at this one again.

Enjoy the new toys for SharePoint!